Anime Background Paint Over 3D Render
This tutorial will quickly discuss about the workflow of turning 3d render into anime style background using Photoshop and Blender3D.
3D Models
Start the process by modeling all the require models in the scene. By using 3D, these assets can goes into your stock library and be reuse in other projects.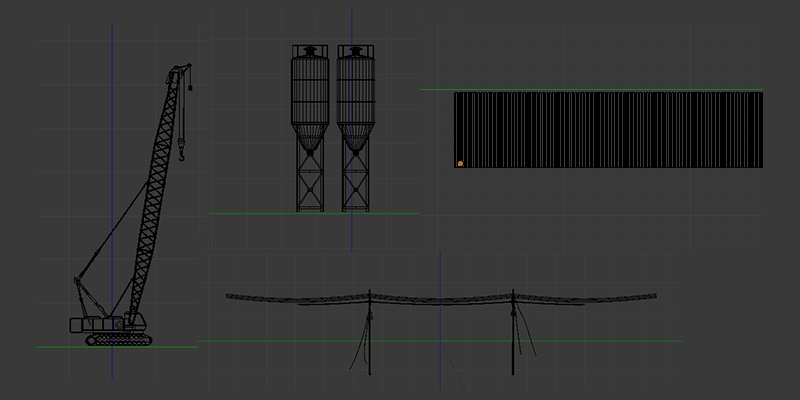
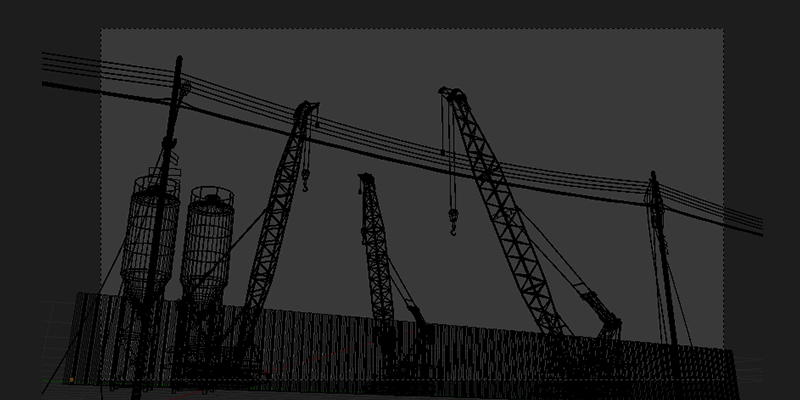
Arrange the 3D model according to your artwork layout and design.
Object Shader and Materials
Since we are going for anime style background art, the default diffuse shader is what we need. Toon shader will result in 3D objects that look flat and cartoony which is not what we are aiming for.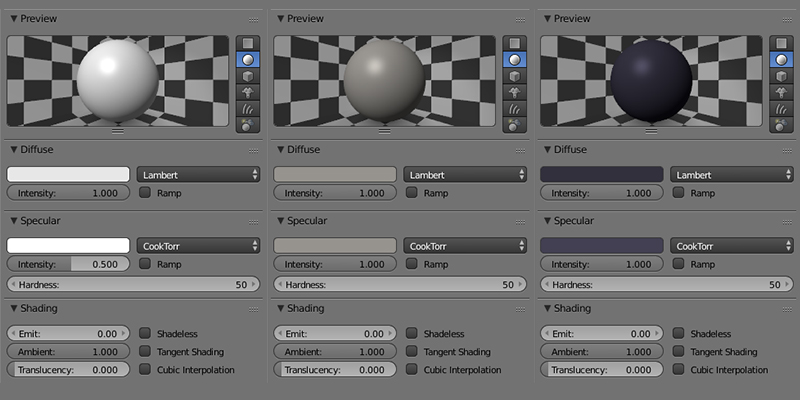
For different objects with different colours, changing the material colors is more than enough.
Scene Light Setup
Scene light setup is very simple too. What we need are 1 sun lamp which cast shadow and 1 hemi lamp for ambient light. Ambient light will determine the colour in the dark area (shadow).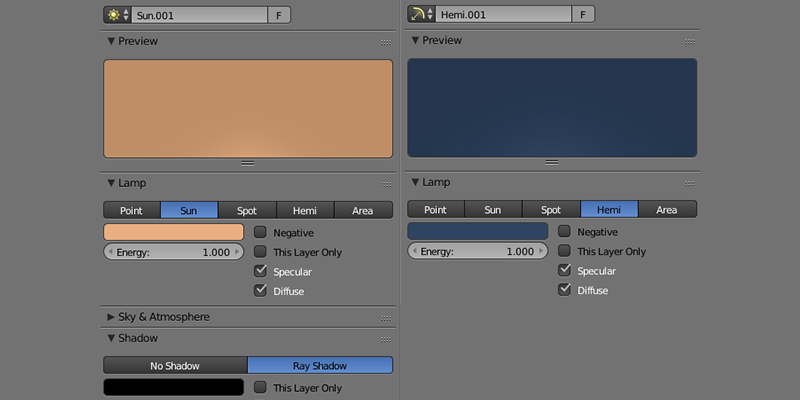
Layers
All the 3D objects are render in different layers of alpha PNG. Organizing artwork in layers will help a lot during painting and animation.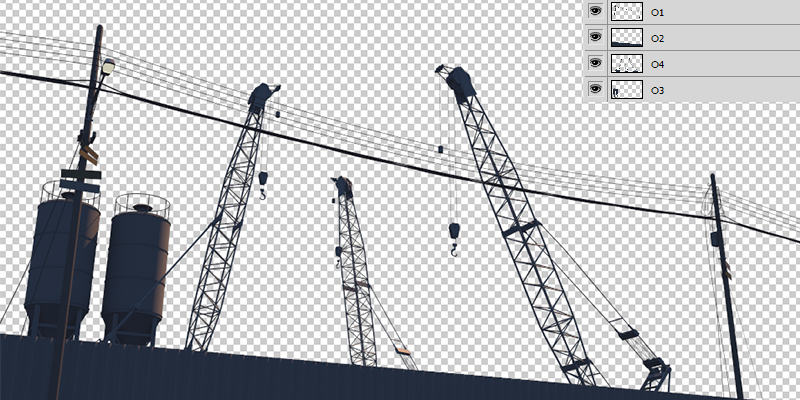
Another tutorial on Blender3D Anime Style Background Art.
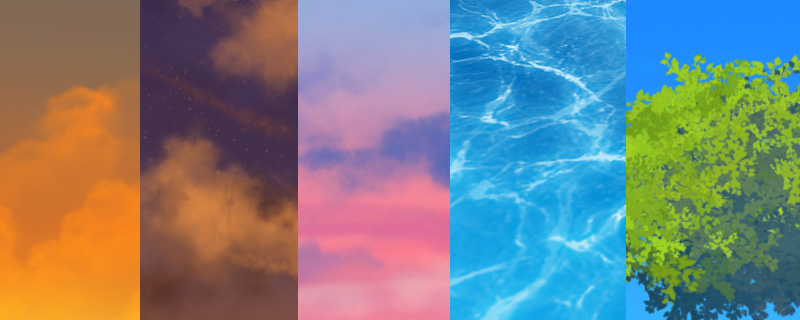
Sky
First thing to paint is background sky. Sky and cloud colour tend to be the sun lamp and hemi lamp colour we used in the 3D render.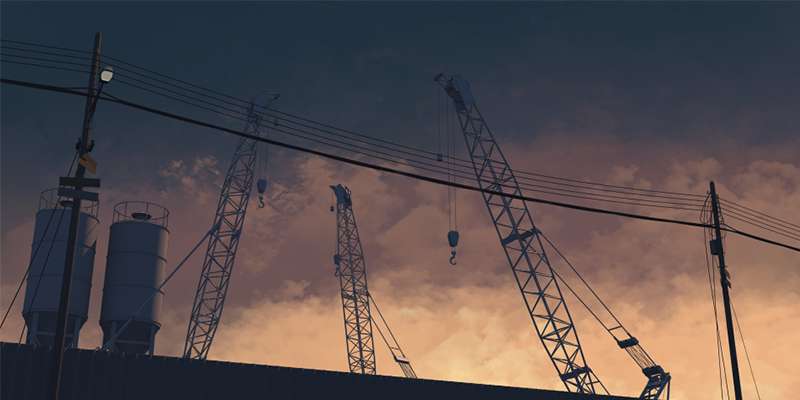
Please read Anime Cloud Painting tutorial for more info.
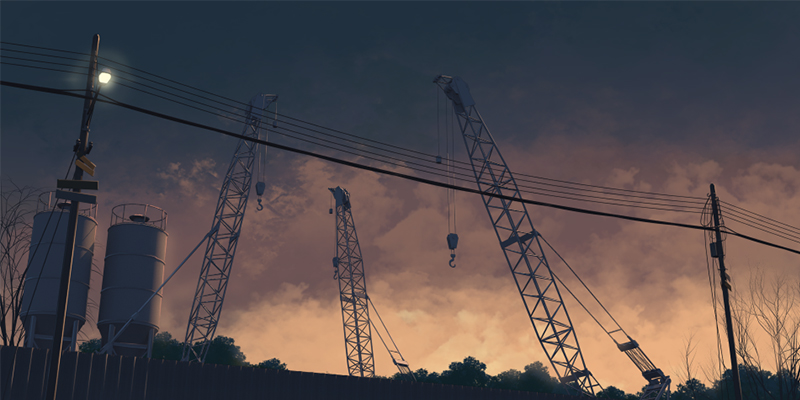
Paint Over 3D
Step to paint over 3D render is straight forward as well. Color pick (ALT in brush mode) from the render and paint over it. Repeat the steps until we got that painterly feel for the artwork.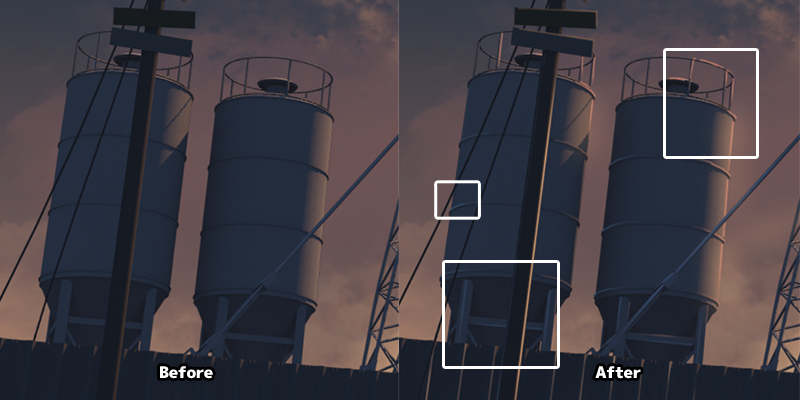
Sometime, we just need to paint the brighthest specular/bevel area as shown in the image above.
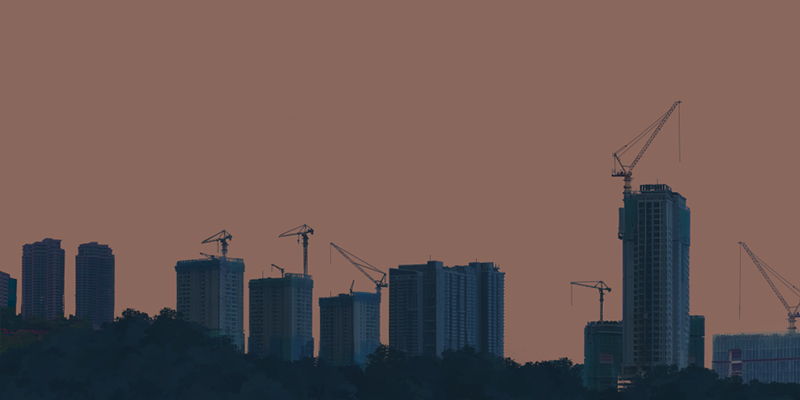
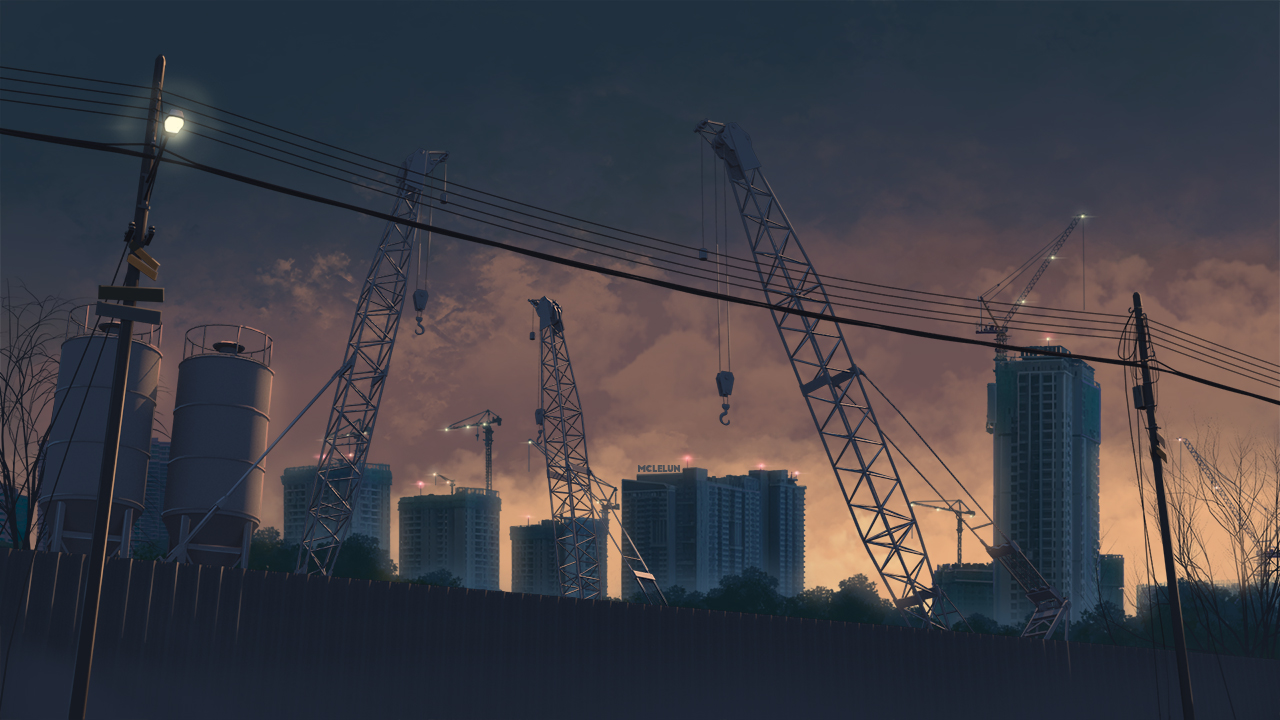
Painting Extra Objects
Some objects can be paint in 2D instead of rendering them in 3D. From my experience, trees and bushes are best to be paint in 2D.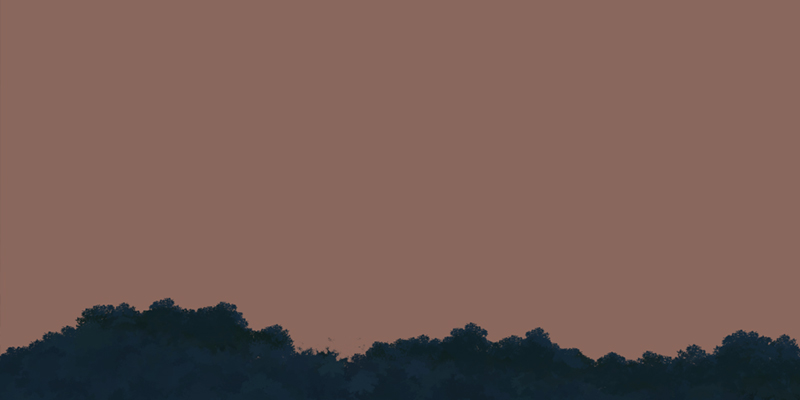
Please read Anime Tree Painting tutorial for more info.
We could also composite some photo source elements into the artwork. In this case, distance building are added into the artwork using photos I took. Remember to colour grade and paint over the photo too.
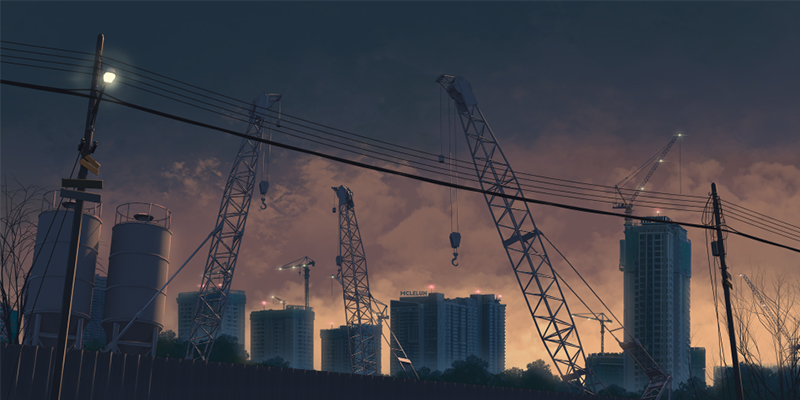
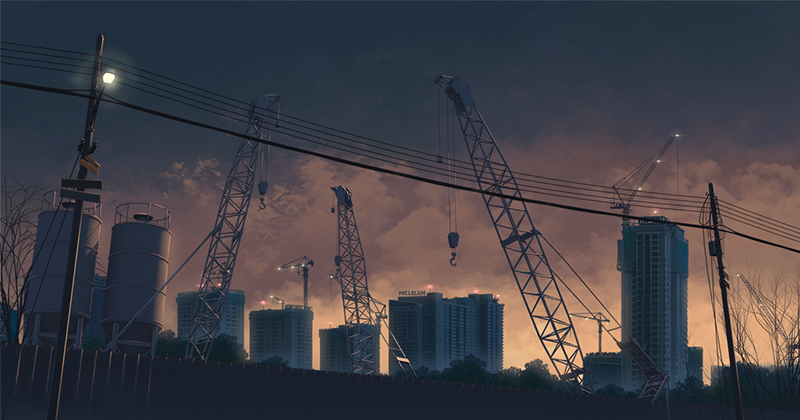
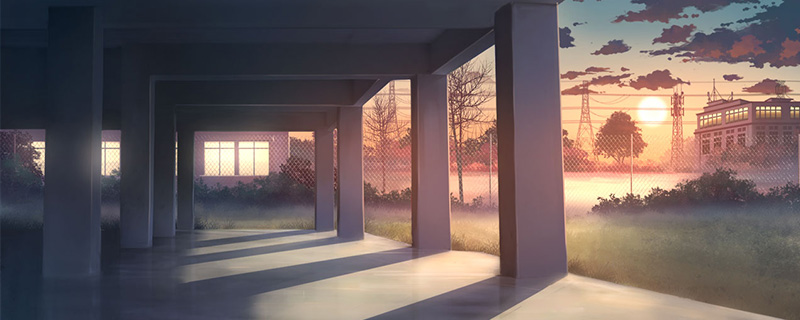
Before and After
This is the final result of the paint over. Reload pages if images are not loaded.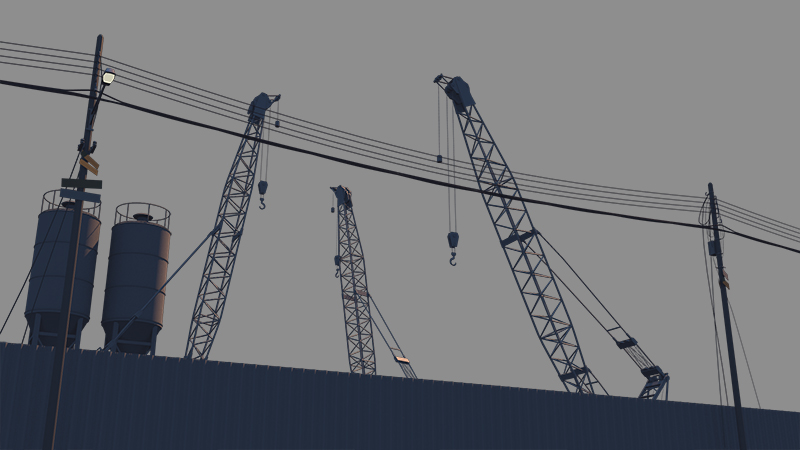

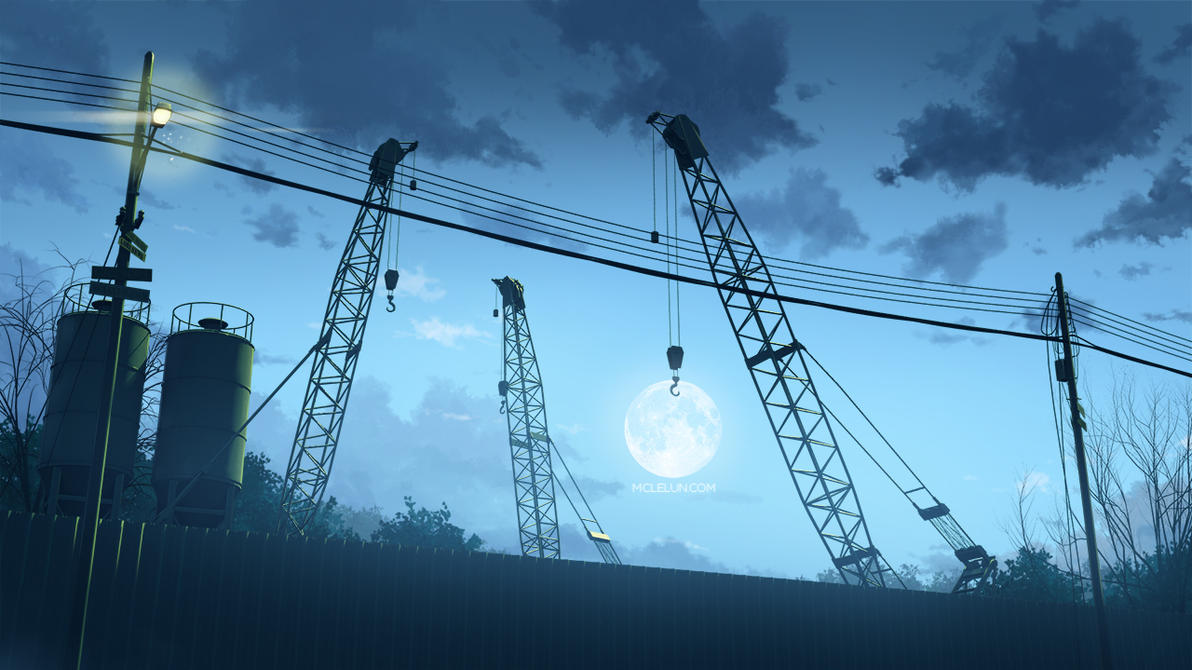
Artwork
Below are different version of artworks using the same 3D models.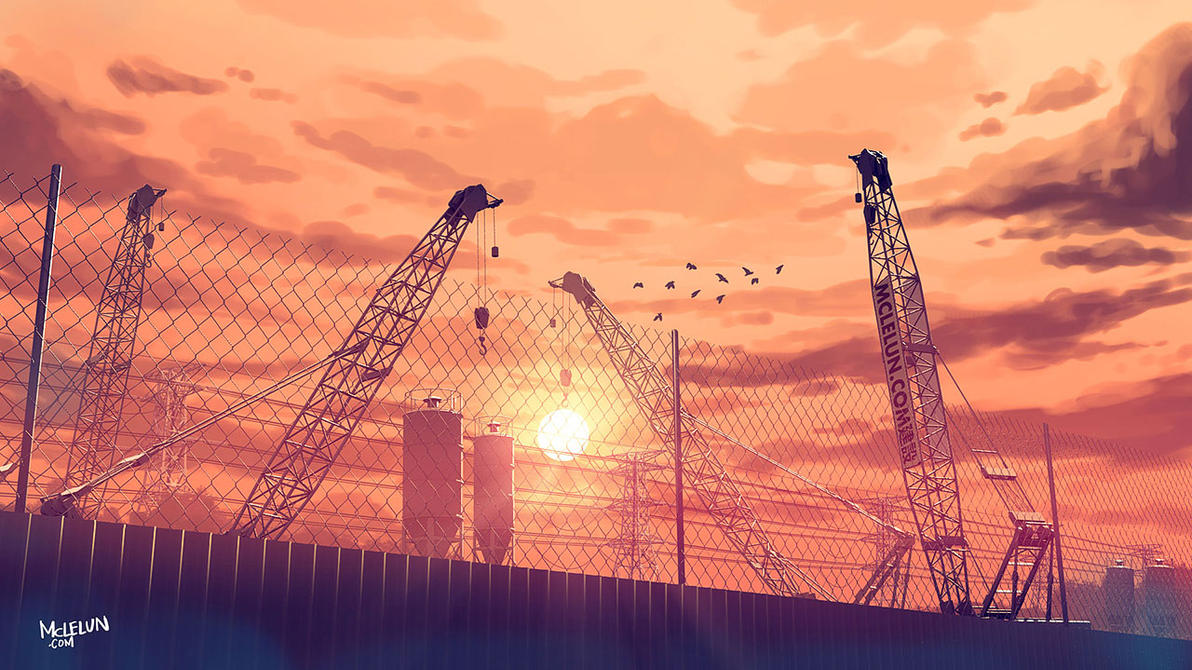
Reference
DeviantArt Construction SiteDeviantArt Construction Site 2015
DeviantArt Construction Site 2018
Pixiv Construction Site 2015
Pixiv Construction Site 2018
Hi. Thanks for the tutorials!
ReplyDeleteIf I feel like I don't want to put down the hours into 3D-blend, starting from scratch with the models etc., and I just want to test colouring already existing models, is it possible find models, like the one you use in this tutorial, and copy/paste into Photoshop?
Thanks!
Thanks to your website,I had loads of knowledges required for my comic. Thank you so much.
ReplyDelete