Creating Photoshop Aurora Northern Lights Brush
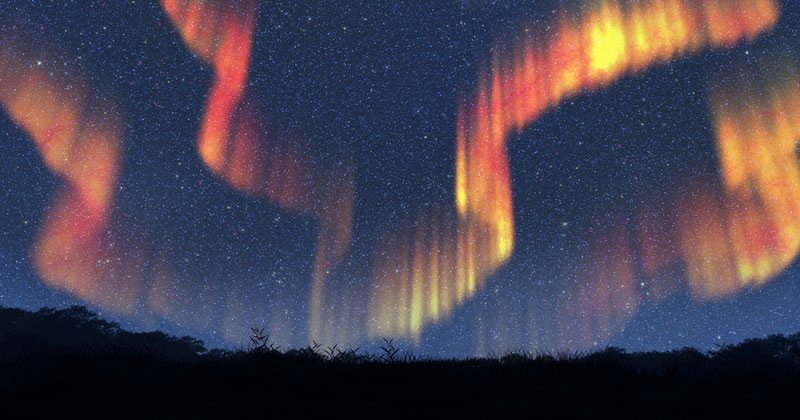
In this quick tutorial, I will show you how to create custom photoshop aurora brush which is good for painting Northern polar lights.
Brush Tip
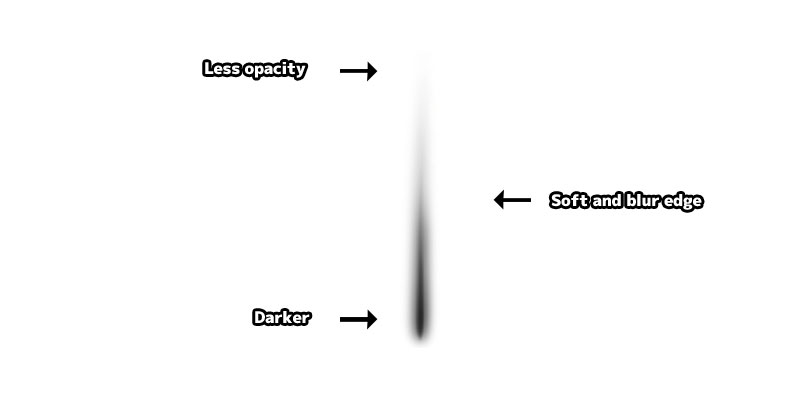
Paint a soft edge vertical brush tip shape like the image. The top part of the brush tip should be less opacity and the edge of the brush should be soft. You can use Gaussian blur filter to achieve this too.
Define Brush Preset
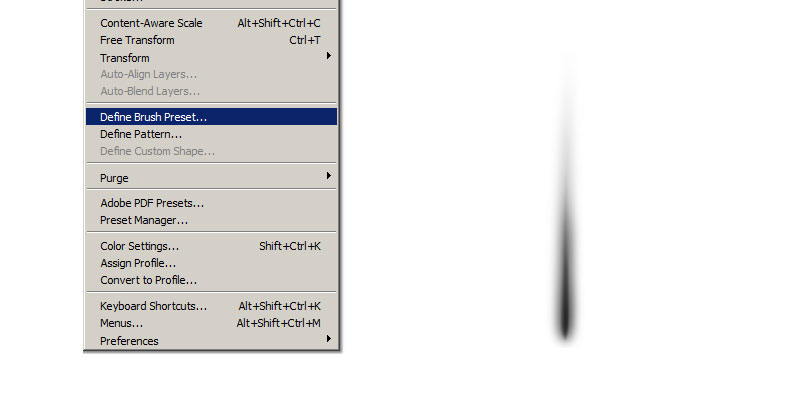
Convert the image into brush by using, "Edit > Define Brush Preset".
Brush Settings
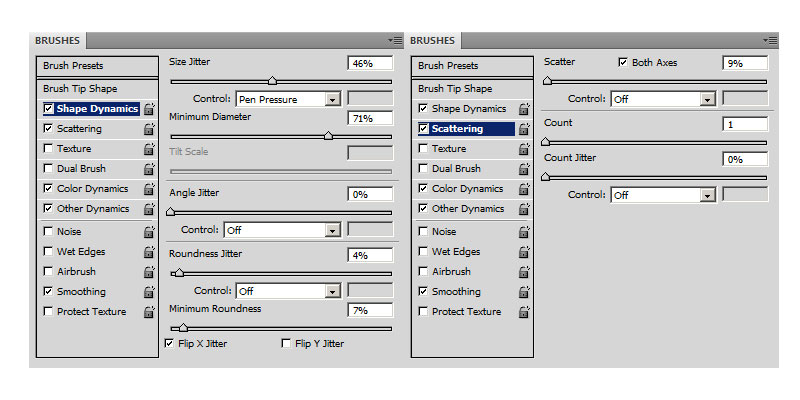
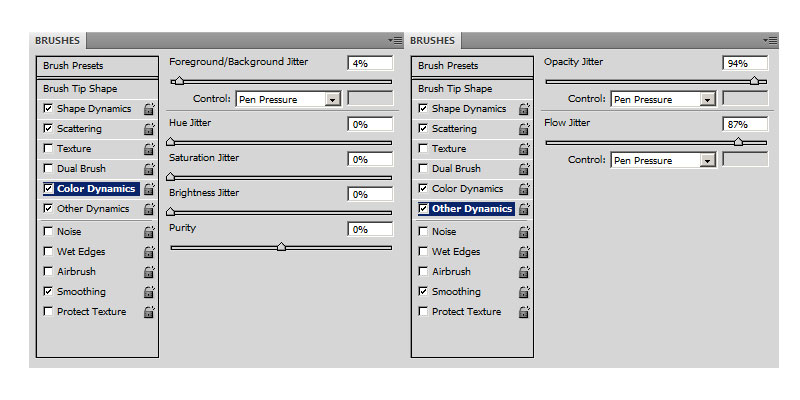
Select the new brush we just created. The brush currently is without any settings, so enable "Shape Dynamics", "Scattering", "Other Dynamics" and "Color Dynamics".
Shape Dyamics
- Size Jitter - Randomise brush tip size.
- Control - Choose "Pen Pressure"
- Minimum Diameter - Minimum brush tip size.
- Roundness Jitter - Randomise brush tip shape roundness. It will squeeze the tip shape vertically.
- Minimum Roundness - Minimum brush shape roundness.
- Flip X Jitter - Randomly flip brush tip in X Axis.
Scattering
- Scatter - Use a low value.
- Control - Choose "Off".
Color Dyamics
- Control - Choose "Pen Pressure".
Other Dyamics
- Opacity Jitter - Use a big value. Control "Pen Pressure".
- Flow Jitter - Use a big value. Control "Pen Pressure".
Artwork
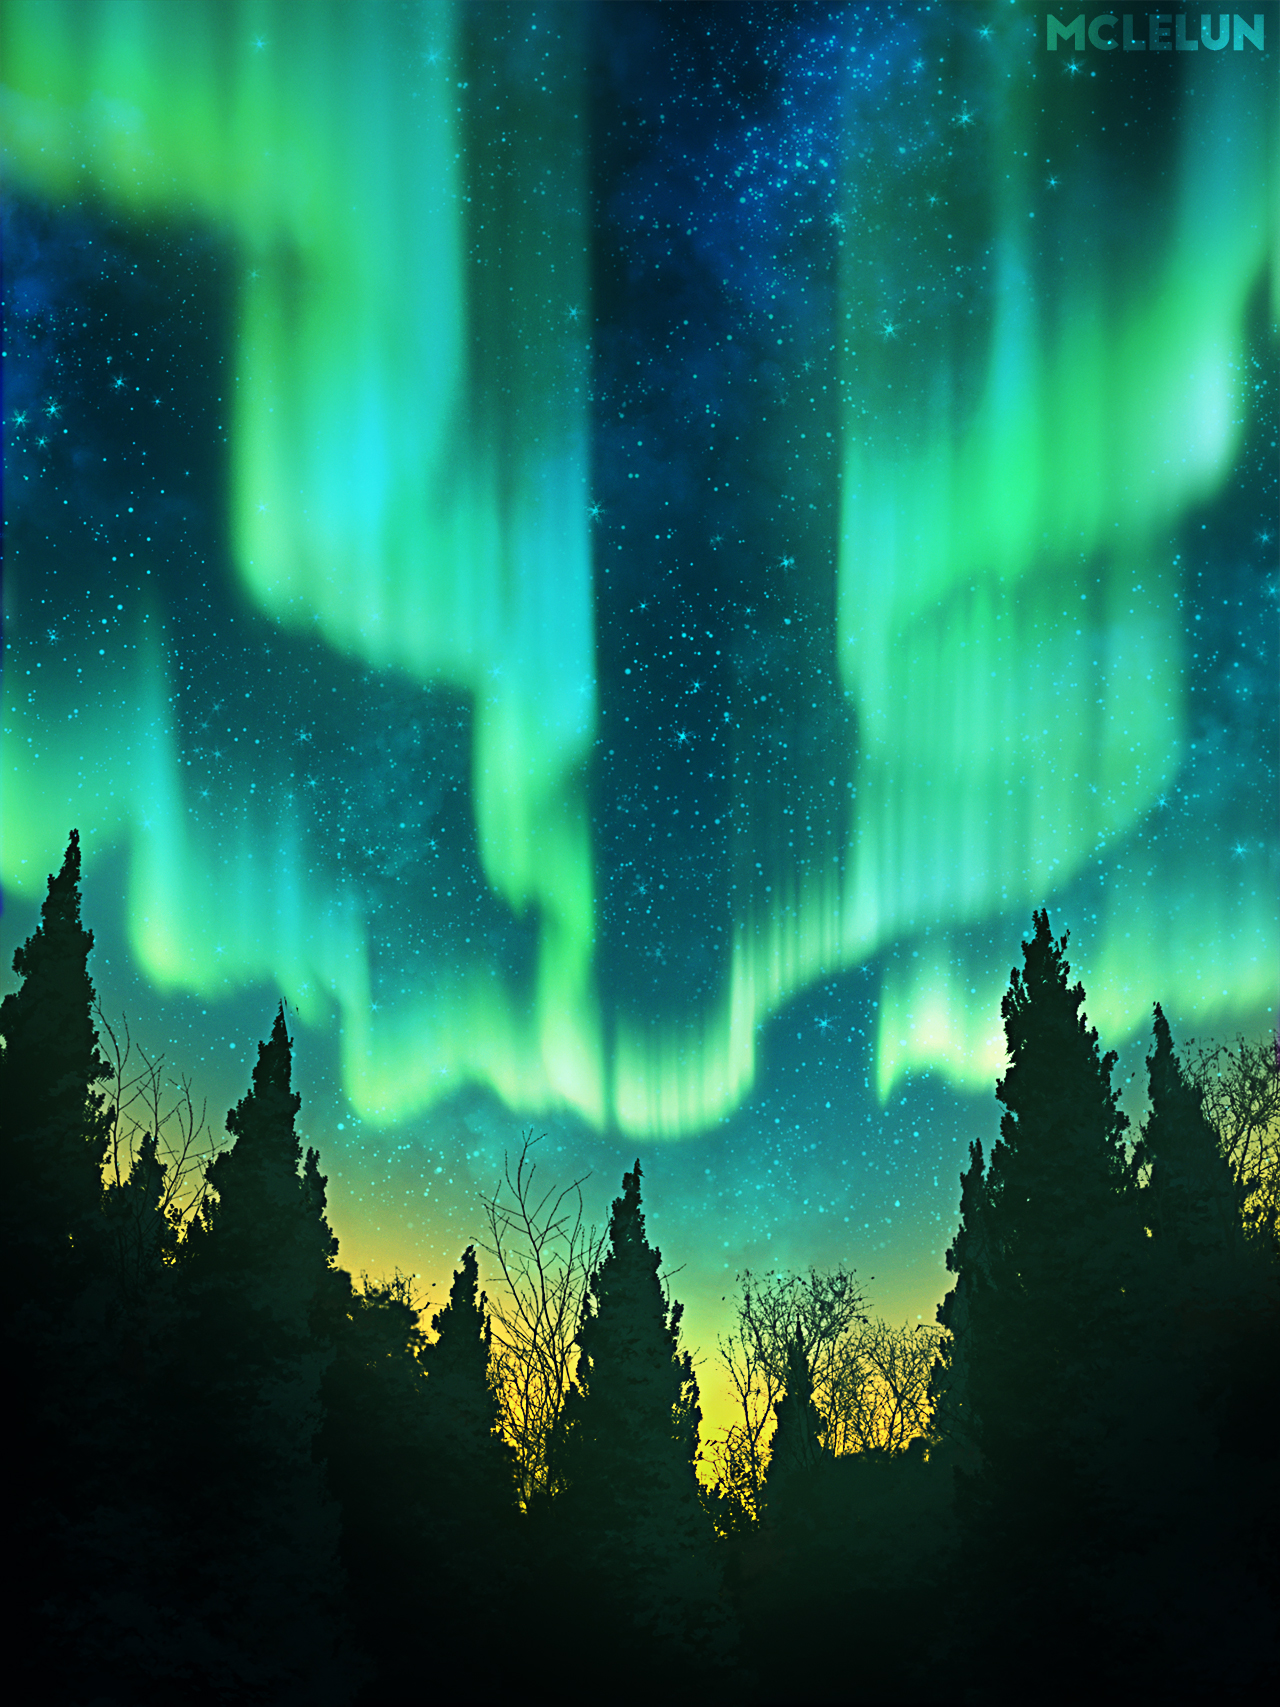
Timelapse painting video using this custom aurora brush.
Reference
Youtube Creating Photoshop Aurora BrushYoutube Aurora Northern Lights Painting
Comments
Post a Comment