Creating Photoshop Dandelion Brush From Photo
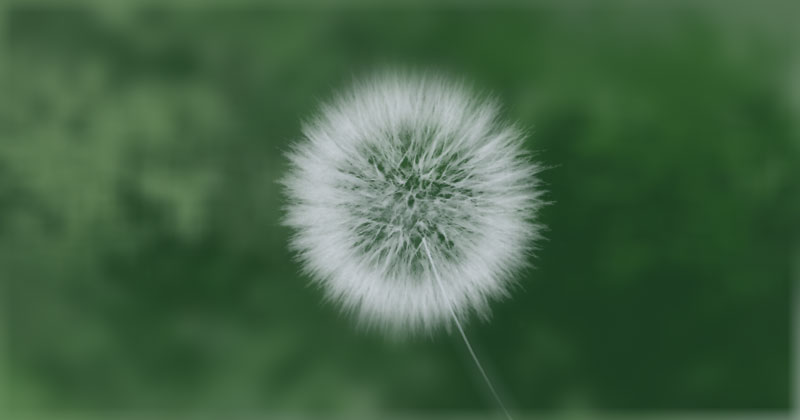
In this quick tutorial, I will show you how to create Photoshop globe shape flower brush such as dandelion from photo.
Photo Source
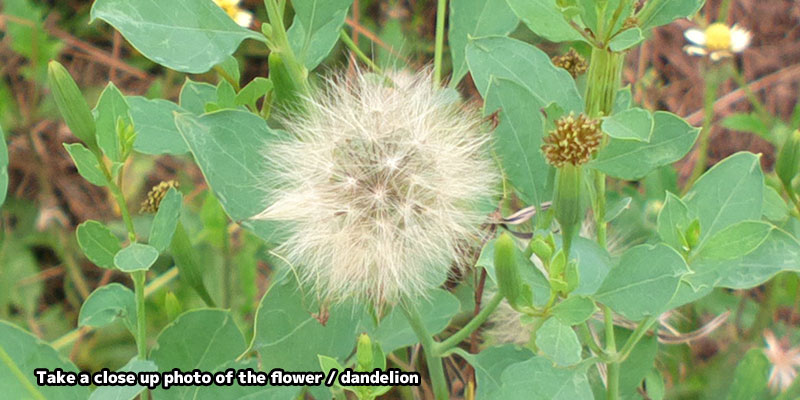
Take a close up photo of dandelion of any globe shape flower. Framing the flower on a darker shade of leaves will help us to mask the the flower easier.
Important! Use only public domain images or Creative Commons image with derivative rights. Do not use random photos from google!
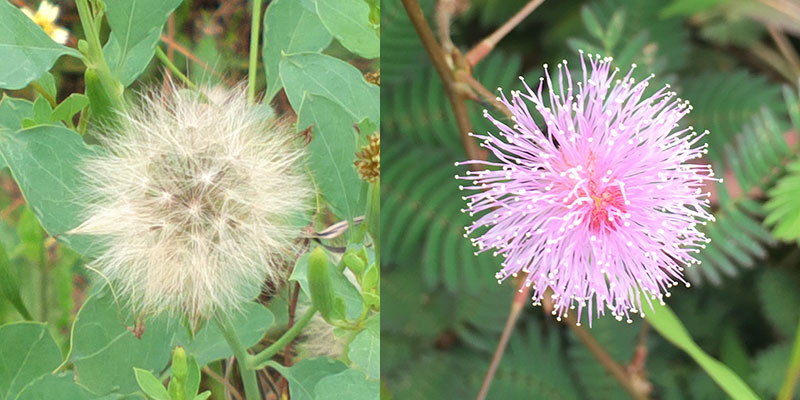
You can use this photos I took if you don't have any photos available.
Brush Tip

Converting the photo into Photoshop brush is a quick easy process.
- Copy the photo into a new canvas. CTRL-T to scale transform. I usually create brush size less than 500 pixels.
- CTRL-SHIFT-U to desaturate the image.
- CTRL-I to invert the image.
- CTRL-L to to bring up the Level Adjustment panel. Adjust it so the background is white. This is because white is transparent and black is opaque.
- Fix the edges by removing unwanted details.
Define Brush Preset
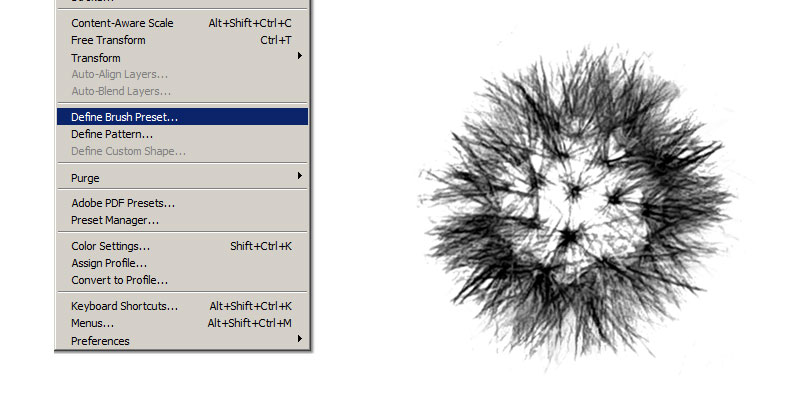
Convert the image into brush by using, "Edit > Define Brush Preset".
Brush Settings
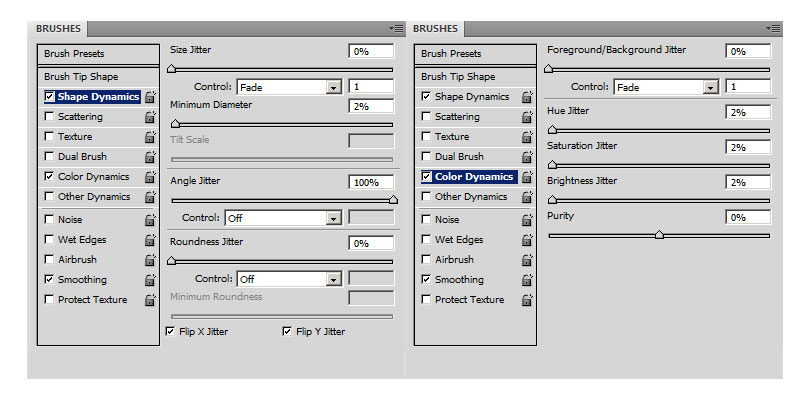
Select the new brush we just created. The brush currently is without any settings, so enable "Shape Dynamics", and "Color Dynamics".
Shape Dyamics
- Control - Choose "Fade" and set the value to 1
- Minimum Diameter - Minimum brush tip size. Set it to 1 or 2%
- Angle Jitter - Randomise brush tip rotation. Enable "Rotation" or "Direction" will rotate brush tip base on pen angle.
- Roundness Jitter - Randomise brush tip shape roundness. It will squeeze the tip shape vertically.
- Minimum Roundness - Minimum brush shape roundness.
- Flip X Jitter - Randomly flip brush tip in X Axis.
- Flip Y Jitter - Randomly flip brush tip in Y Axis.
Color Dyamics
- Control - Choose "Fade" and set the value to 1
Comments
Post a Comment