Enhancing Your Anime Artwork Using Blur Filter
So you just finish an artwork and are happy with the result so far. But you still feel that there are areas that you could improve, and you are just unsure of what to do next. Generally, there are few options that you could apply to your artwork at this stage. There are no wrong or right if you decide to do or skip these steps.
The very first thing you could consider is applying blur filter to some part of your artwork. Most peoples would do this step during post-production, using compositing software such as After Effects. But if you have no plan to animate the scene, then you could do this using any graphic software of your choice.
Blur Filter to show depth
Blur filter could use to enhance the sense of depth on your artwork. To blur the background, we could use any of the blur filter such as Gaussian Blur / Box Blur / Camera Lens Blur.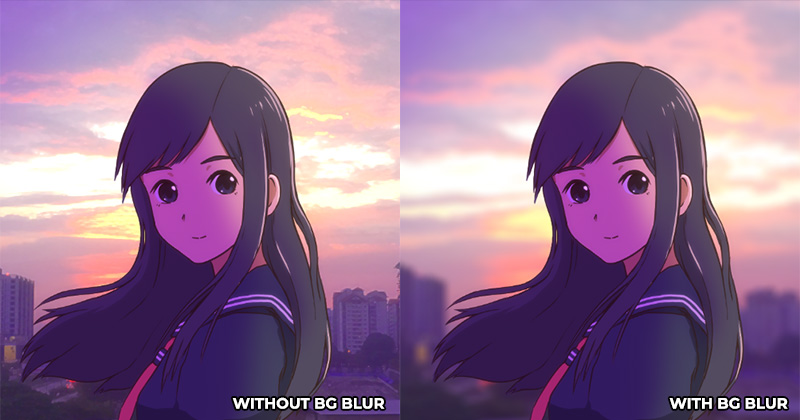
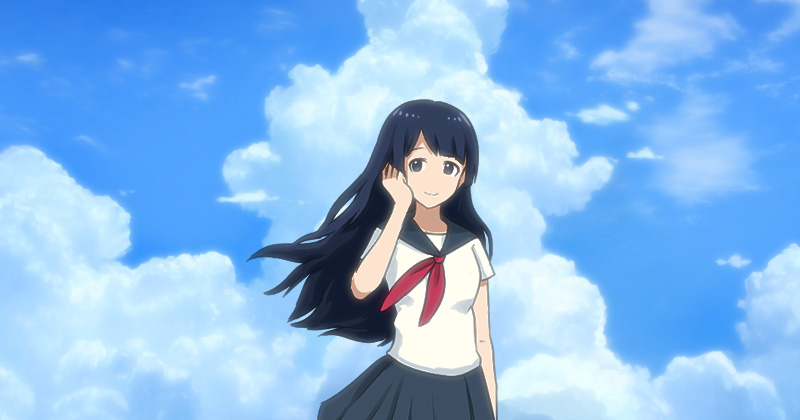
In the artwork above which is a half body potrait shot. Blur filter is apply on the background to give a shallow focus on the girl.
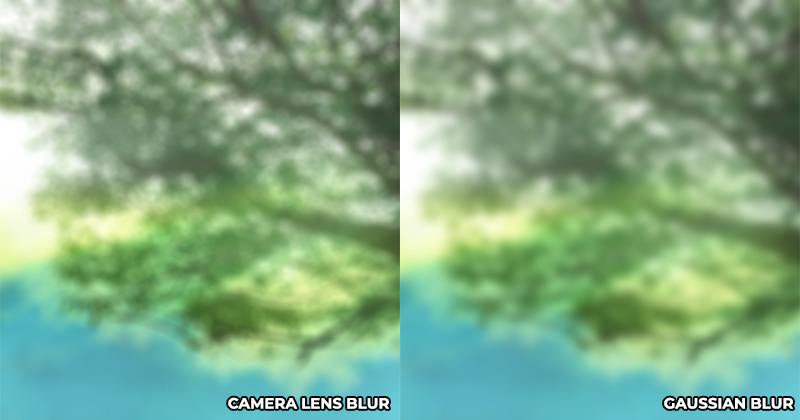
Keep in mind that, Camera Lens Blur are more resource hungry, but it will give better result such as generating bokeh effect.
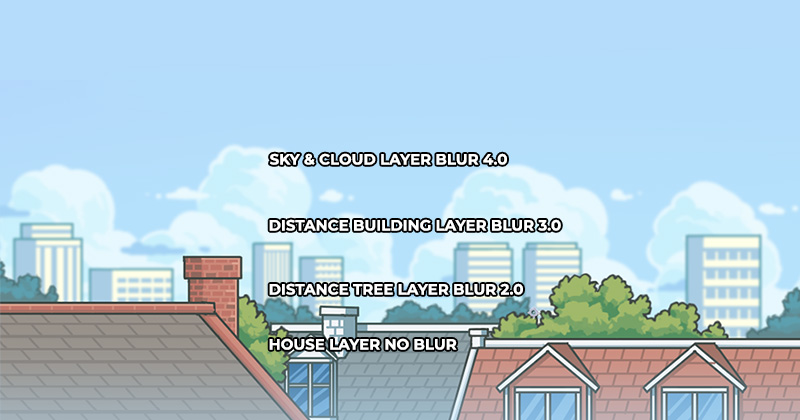
If you have separate your background art in different layers, you can apply different intensitity or level of blur according to the distance.
Atttention! Remember to backup your background layers before applying blur filter!
Before applying blur filter, remember to duplicate the layers that will be blur. This is done, so we have a backup for the original layers. If you are using After Effects, then this step is not needed, as the filters in After Effects are non destructive. Technically speaking, you could also covert the background layers in Photoshop to smart objects, as smart filters are non destructive as well.

Lets look at another example. In the illustration above, our camera is focus on the girl. So we will apply blur filter on both foreground and background elements, which are the grass strands in front and sky at the back. A stronger blur filter can be apply on the grass strands in front as they are very close to the camera and out of focus.
Blur Filter to narrow viewer focus
Blur filter can also be use to guide and narrow the viewer focus to certain elements on the screen. In the example below, I want the user have stronger focus on the photo frame in the middle. A ellipse mask is used, so only the edge of the artwork are blur.
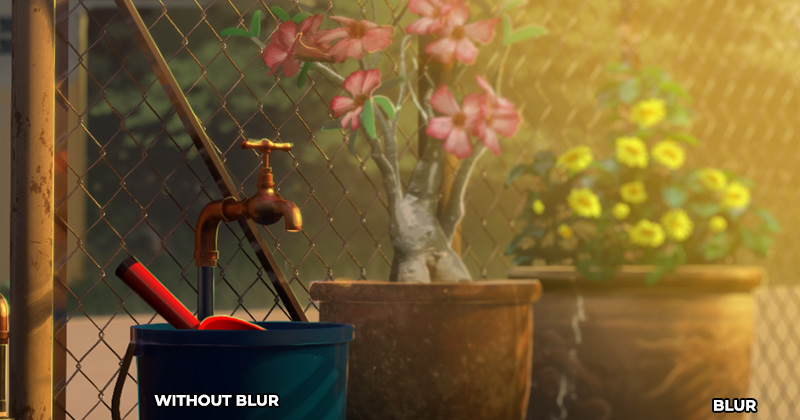
In the example above, I want the user to focus on the water faucet. To achieve this, I am using Camera Lens Blur in After Effects with a gradient colour blur map to achieve the smooth blur transition.
Blur Filter to show motion
Aside of using blur to show depth, we could use Motion Blur / Directional Blur filter to show motion of fast moving objects. In this case, the flying dove are apply with blur filter.
Blur Filter to create special effect
Blur filters are great for creating special effect too. In the example below, a wet glass effect is achieve using a strong blur filter on the background. Some parts are masked and left without blur effect to simulate raindrop falling on window glass.
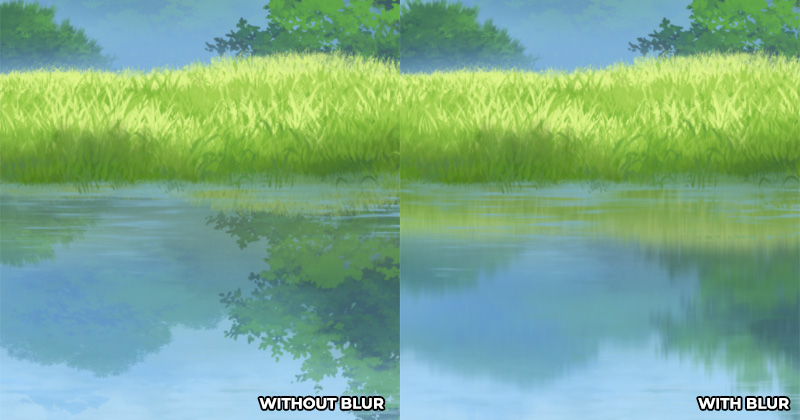
A vertical directional blur filter could be use for water reflection. Water reflection without blur filter look more like still water or mirror while the version with blur filter give the sense of moving water surface.
More tutorial! Visit Lake Reflection Tutorial for a more detail writeup!
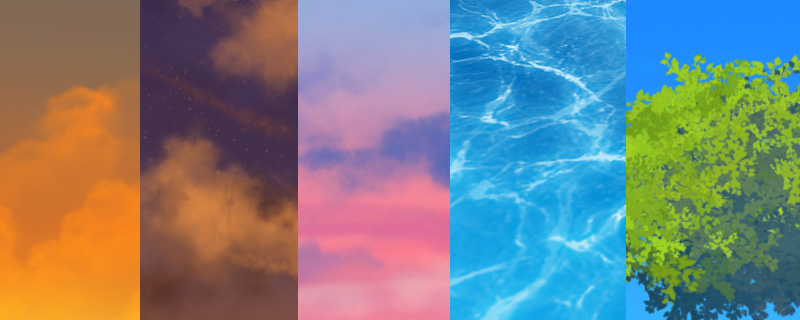
Blur filter to add fog glow and bloom effect
Fog glow and bloom are great way to add atmospheric effect to your artwork. This can be use for a strong sunset glow or a hot summer scene. This effect is achive using blur filter (again).- Duplicate and merge all your layers into a single layer.
- Apply Gaussian Blur on the merged duplicate layer.
- Change the blending mode of merged duplicate layer to Screen or Lighter Colour mode.
- Adjust layer opacity to control the glow intensity.
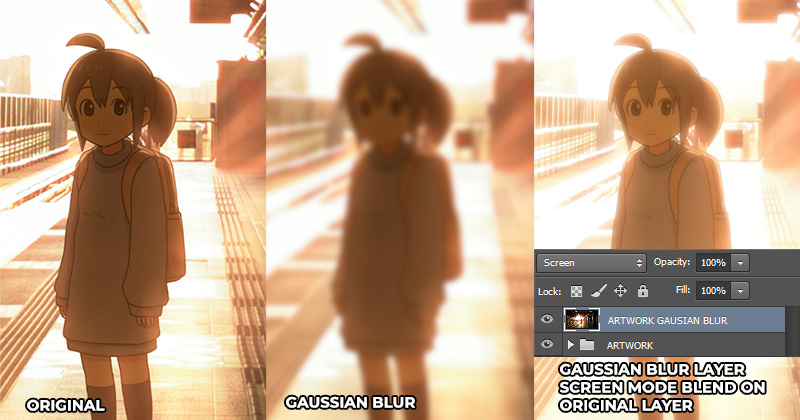
In the example above, we are using gaussian blur and Screen mode blending to achieve a strong glowing sunset (or maybe a dreamy sequence).

Lighter Colour mode are great to assemble our artwork into a single piece without introducing crazy glow effect like in screen mode. This step not only blend the character better to the background, but also give the anime feel!
There are obviously more stuff that you can add to your artworks aside of using blur filter. Such as adding chromatic aberration and noise to simulate film effect, but I will save that for another tutorial. For now, have fun with blur filter!
sangat membantu sekali
ReplyDeleteSenang gitu je
ReplyDelete